
Mastering the Art of Framing Watercolor Paintings for Stunning Displays
- 王 一
- Dec 10, 2025
- 4 min read

Watercolor paintings bring a unique charm and delicate beauty to any space. However, framing them properly is essential to protect the artwork and enhance its visual appeal. Framing watercolor art requires special attention because the medium is sensitive to light, moisture, and environmental changes. This guide will walk you through everything you need to know to frame your watercolor paintings like a pro, from choosing the right materials to mounting techniques.

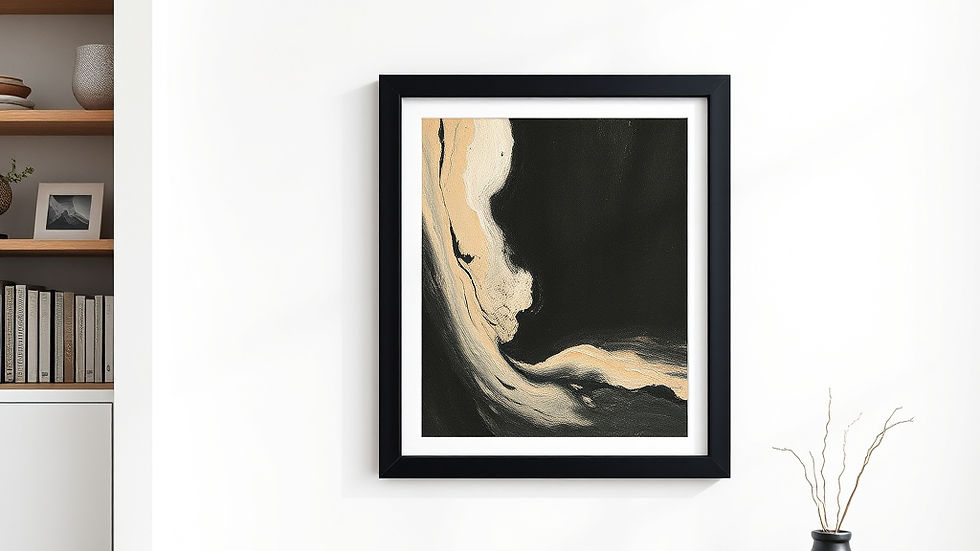
Close-up view of a watercolor painting framed with a white mat and wooden frame
Why Framing Watercolor Art Is Different
Watercolors are made with pigments suspended in water, applied on paper. This makes them more fragile than oil or acrylic paintings on canvas. The paper can warp, discolor, or get damaged if exposed to moisture or direct sunlight. Proper framing protects the artwork from these risks and preserves its colors and texture.
Key differences to consider:
Paper sensitivity: Watercolor paper can absorb moisture and warp.
Light sensitivity: Watercolors fade faster under UV light.
Acid sensitivity: Acidic materials can yellow or degrade the paper.
Because of these factors, framing watercolor art requires acid-free materials, UV-protective glass, and careful mounting.
Choosing the Right Frame
The frame you select should complement the artwork without overpowering it. Here are some tips:
Material: Wood frames are classic and warm, while metal frames offer a modern look. Choose based on your decor and the painting’s style.
Color: Neutral colors like white, black, or natural wood tones work well with most watercolors. Avoid overly bright or dark frames that distract.
Depth: Watercolor paper is thin, so pick a frame with enough depth to accommodate mats and glass without pressing on the painting.
Frame Styles That Work Well
Simple, clean lines highlight the delicate nature of watercolors.
Ornate frames can work if the painting has a traditional or vintage feel.
Floating frames create a sense of space around the artwork, emphasizing its texture.
Selecting the Right Mat
A mat is the border between the painting and the frame. It serves both aesthetic and protective purposes.
Why Use a Mat?
Prevents the glass from touching the watercolor surface.
Adds visual space, making the artwork stand out.
Helps balance the composition within the frame.
Mat Material and Color
Use acid-free, archival mats to protect the paper.
White or off-white mats are most common and versatile.
Light pastel mats can enhance certain colors in the painting but use them sparingly.
Avoid colored mats that clash with the artwork.
Mat Size
A wider mat (2 to 4 inches) creates a gallery-style look.
Narrow mats (1 to 2 inches) suit smaller or more intimate pieces.
Ensure the mat is proportional to the painting and frame size.
Glass and Glazing Options
Glass protects the watercolor from dust, moisture, and UV light. Choosing the right glazing is crucial.
Types of Glass
Regular glass: Affordable but offers minimal UV protection.
UV-protective glass: Blocks up to 99% of UV rays, preserving colors.
Museum glass: Anti-reflective and UV-protective, ideal for valuable pieces.
Acrylic glazing: Lightweight and shatter-resistant but scratches easily.
Considerations
UV protection is essential to prevent fading.
Anti-reflective coatings improve visibility.
Acrylic is good for large frames or where safety is a concern.
Mounting Techniques for Watercolor Paintings
How you attach the painting inside the frame affects its longevity.
Hinged Mounting
Use acid-free tape or Japanese paper hinges to attach the painting to the backing board.
Allows the paper to expand and contract with humidity changes.
Prevents warping and damage.
Dry Mounting (Not Recommended)
Involves heat and adhesive to stick the painting flat.
Can damage delicate watercolor paper.
Avoid unless done by professionals with proper materials.
Float Mounting
The painting is mounted on a backing board but left visible around the edges.
Creates a floating effect inside the frame.
Works well for deckled edges or textured paper.
Step-by-Step Framing Process
Prepare your workspace: Clean, flat surface with good lighting.
Choose frame, mat, and glass: Based on the painting size and style.
Cut mats and backing boards: To fit the frame dimensions.
Attach hinges to the painting: Use acid-free tape and Japanese paper.
Place painting on backing board: Secure with hinges.
Assemble frame: Insert glass, mat, and mounted painting.
Seal the back: Use framing tape to close the frame and prevent dust.
Add hanging hardware: Wire or hooks depending on frame weight.
Caring for Framed Watercolor Art
Proper care extends the life of your framed watercolor.
Hang away from direct sunlight and humidity.
Avoid placing near heating or cooling vents.
Dust the frame and glass regularly with a soft cloth.
Check the frame periodically for signs of moisture or damage.
Consider professional reframing every 10-15 years for valuable pieces.
Common Mistakes to Avoid
Using non-archival mats or tapes that yellow over time.
Skipping UV-protective glass, leading to fading.
Pressing the glass directly on the painting.
Using cheap frames that do not seal properly.
Mounting with glue or adhesives that damage paper.


Comments